It’s that time of year for Firkin Fest, so it seems like a good time to discuss cask conditioned beers (also known as firkins). This post is meant to give some examples of procedures to ensure that the beer in the cask is in great shape at the time it’s ready to be tapped and served. While many American craft brewers have certainly strayed from the traditional English cask ale beer styles, we can learn a lot from the traditional techniques used to achieve a lightly carbonated, brilliant beer upon dispense. There will also be some links to additional resources, including instruction on the proper venting and tapping of a cask, which can be particularly challenging for a festival such as Firkin Rendezvous due to the travel and timing for event delivery and set up.
First, let’s start with some definitions. One of the great things about playing with cask ales is the fun nomenclature involved.
Cask:
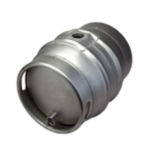
Typically this would be a British Firkin that holds about 11 gallons. There are other sizes of casks (Pin and Kilderkin) but the Firkin seems to be the easiest to work with and the most common. To really geek out about cask sizes, check out this entry on Wikipedia. Typically the cask will be stainless steel but it could be plastic or wood. The cask has two openings – a two-inch round opening on the curved side for the shive and a one-inch round opening on the end towards the rim for the keystone.
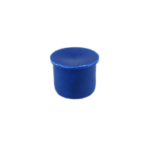
Shive:
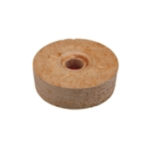
This can be wood or plastic and is pounded into the two-inch opening to seal the cask. The hole in the center of the shive allows the tutt to be in place during conditioning, but later replaced with a spile.
Tutt:
The tutt is a small, non-porous plastic piece that seals the hole in the shive until the spile is needed. It is generally in place when you receive the shive from your supplier. (Edit: Some shives have a thinner cut-out section instead of a tutt, which breaks when hit with the spile.)
Spile:
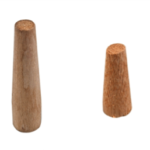
The spile is a tapered cylinder of porous wood that allows pressure (CO2) to escape. It’s like a large wooden nail. A hard spile is less porous and is generally longer, while the soft spile if fairly porous and will allow pressure to release faster and air to replace the headspace when serving. The spile is pounded into the hole of the shive forcing the tutt out the other side (into the cask).
Keystone:
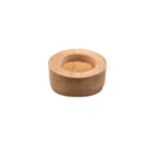 The keystone can be wood or plastic and is pounded into the 1-inch opening on the end of the cask to seal the cask before filling. This piece has a thinner cut-out section in the center for accepting the spigot when tapping the beer.
Spigot:

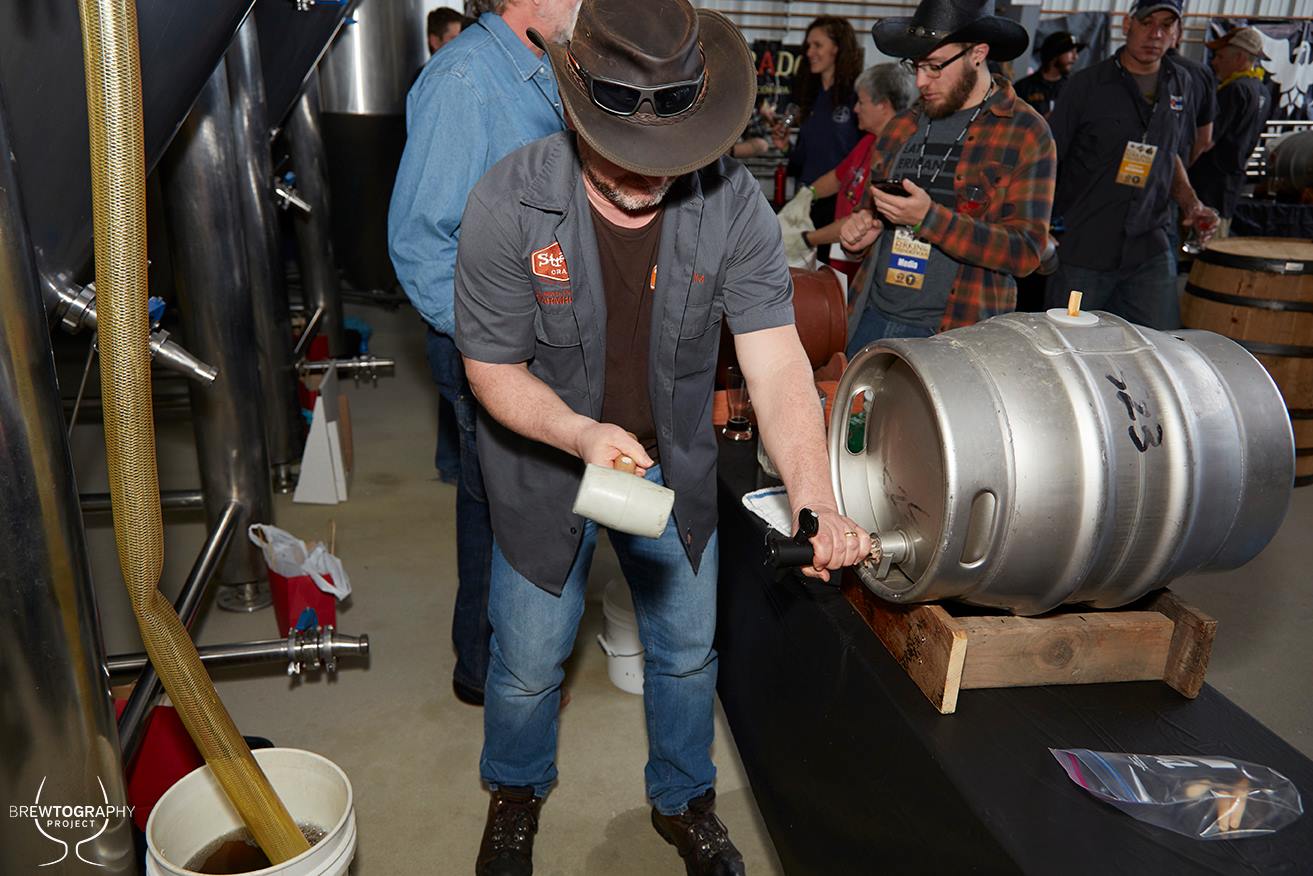
Also called “tap” or “gravity tap”, this is how we’ll dispense the beer from the cask! It is pounded into the keystone and displaces the center section of wood (or plastic), causing a nice seal with the remaining keystone. The tapping of a cask beer can be a beautiful and ceremonial act but can also be a mess if not done correctly.
Now that we’ve got the great terminology down, let’s talk about making a cask beer. The beautiful thing about making cask beer in a brewery setting is that you can pull base beer from a fermentation vessel and then modify it for cask as appropriate. This allows for a true one-off beer that will most likely never be duplicated.
There are multiple techniques to accomplish the secondary fermentation in the cask – the “conditioning” part of cask conditioned beers. Following are 4 techniques that are easily achievable in the small brewery setting.
1. Spunding (or bunging). This technique involves transferring from the fermentation vessel while the beer is nearing the end of fermentation. I have found that 1.0º – 1.5º Plato from terminal gravity is a good range. The difficulty with this method is the timing – it’s not always easy to catch the fermentation at the optimum point. If the beer has fermented too far but still has sufficient yeast in suspension, it’s fairly easy to prime the cask with sugar to compensate and create the secondary fermentation.
2. Krausening. This technique involves transferring from the fermenter after terminal gravity is reached and then adding an amount of actively fermenting beer from another fermentation. This addition of actively fermenting beer provides the sugar and the yeast to accomplish the secondary fermentation. Generally an addition of around 5% of the volume of beer in the cask is sufficient – this would be roughly ½ gallon for a relatively full firkin. The advantage of this technique is related to timing – it is usually easier in a brewery setting to have some actively fermenting beer than to transfer the final beer at the optimum gravity. The disadvantage is that you may need to add a different beer style as the krausening beer, therefore changing the character of the final beer. This could be good or bad depending on what you’re trying to achieve.
3. Krausening with wort from original batch. This technique is a variation on #2 above. When the original beer is brewed, a small amount of wort is saved in an Erlenmeyer flask and stored in a cooler until a couple of days before transferring beer to the cask. The wort is pitched with fresh yeast and allowed to reach high krausen before being combined with the fermented beer being racked to the cask. A pint or two of wort is generally all that’s needed for this technique. This alleviates the concern of krausening with a different style of beer but creates a bit more work to prep the saved wort.
4. A final option, if using finished beer, is to add a small amount of yeast and priming sugars. These could be dextrose, sucrose, or sugars from an addition – e.g. fruit puree, maple syrup, or honey. Two good calculators can be found at Brewer’s Friend or MoreBeer.
Whatever method you use to set up the secondary fermentation, finings and dry hops should be added at the racking phase before the cask is sealed with the shive. This would be the time to add anything else you wish in order to create your final elixir. At this point, leave the cask in a relatively warm place for 3-5 days and then move to a cooler spot (50-55ºF) if available for another 5 days or so. This time will greatly increase if the beer is particularly high gravity or has an addition in the cask that would require additional aging.
Now that you’ve made the cask beer, the preparation for serving it will be equally important. The goal should be to serve a lightly carbonated (~1 volume of CO2 or slightly less) and clear beer from the cask. Rather than try to describe the appropriate techniques for venting and tapping a cask, I’ll refer you to a short and informative video from UK Brewing Supplies – it’s much easier to understand when you see it (especially when described with an English accent!).
What are your techniques for cask beer in your brewery? If you’ve got procedures that you prefer, let us know – email steve@coloradobeer.org.
Also, if your brewery hasn’t yet signed up to pour a cask at Firkin Rendezvous, there are still a few spots left! Register at Firkin Rendezvous.
Additional resources – various articles on producing cask beers:
http://www.tastingbeers.com/school/beer_production/12007183.html
https://beerandbrewing.com/the-secrets-of-british-cask-conditioning/
https://www.craftbeer.com/craft-beer-muses/cask-ale-draught-beer-at-its-best
https://www.brewersassociation.org/articles/cask-ale-expanding-your-beer-offerings/
This post was written by Mike Bristol of Bristol Brewing Company – Colorado Springs, CO